Rick 4F
-
Posts
6,892 -
Joined
-
Last visited
Content Type
Profiles
Forums
Events
Downloads
Store
Gallery
Articles
Everything posted by Rick 4F
-
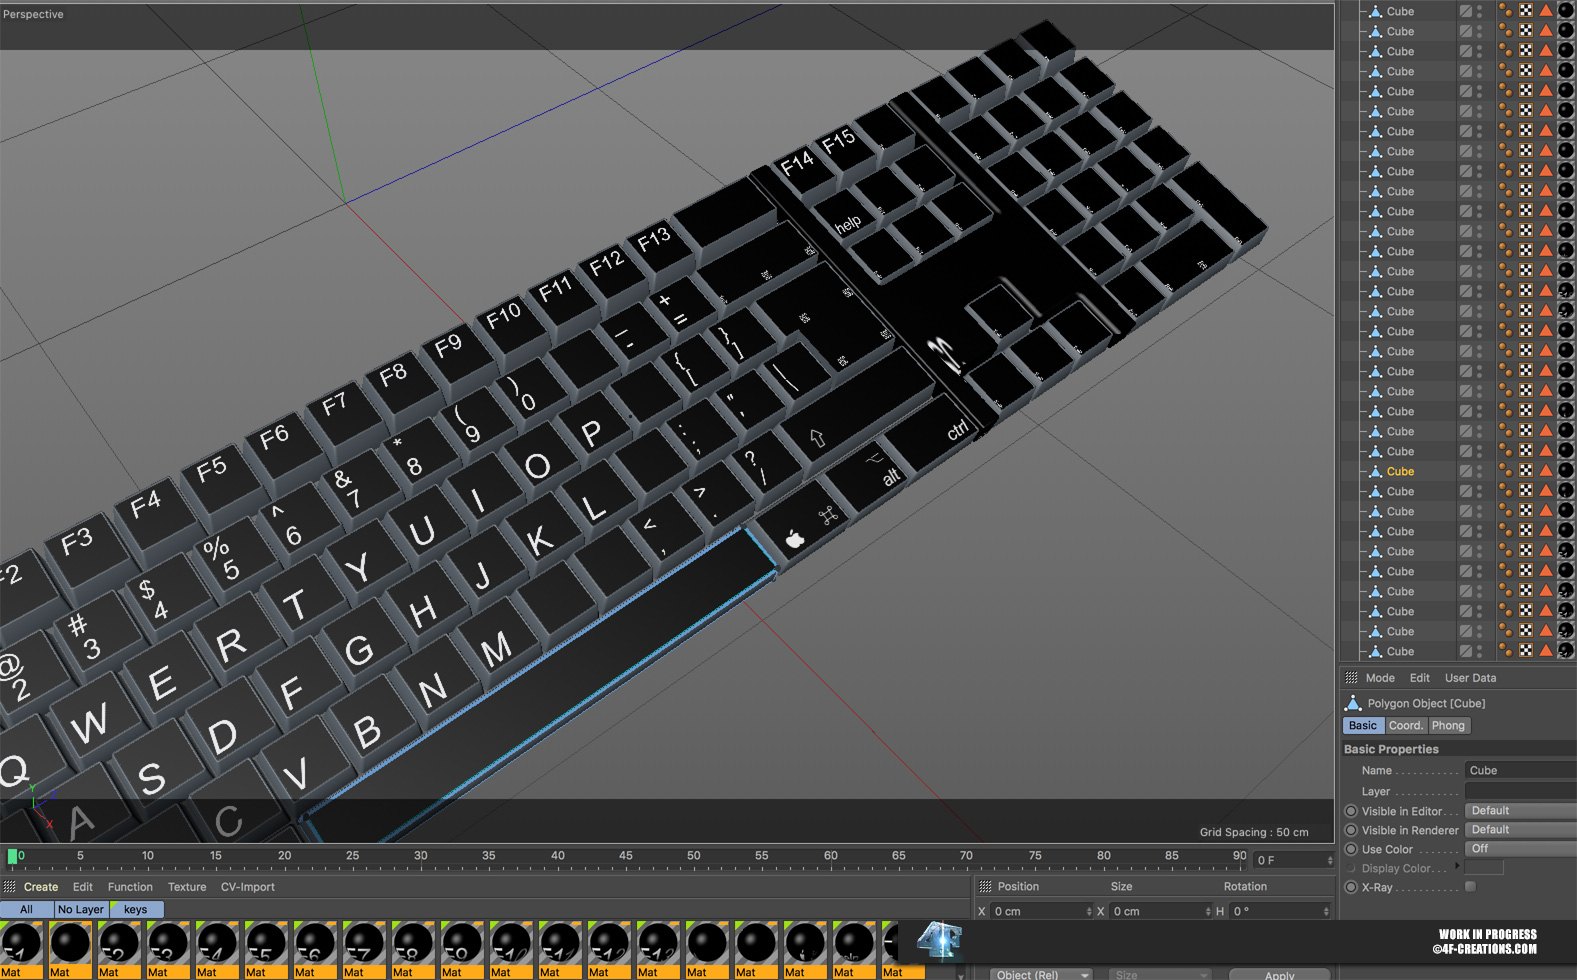
Hehehee, Apple keyboard = old texture. I'm still in the process of re-texturing the keys. As you mentioned it should be way easier to to that but even with your description I have no idea how to do that. I just couldn't resist with all the recent news about huawei to put that under my screens. I'm still debating if this is a separate from the rest mini story or if I insert it into the MNW-verse. If the later it will be 20-40 years before the main story so it's very good possible we'll see relics from the past show up like Apple or Huawei. You read my mind about the classic chairs. During modeling I could have sized the legs down to normal height but I liked the look of these high legs and gave it an 'excuse' as it being handy for when you're all day on high-heels. That briefcase, yah... How does a (classy) briefcase look in the future? I just needed something that in one glance said 'abandoned by an administrative/office worker' and this came out of it.
-
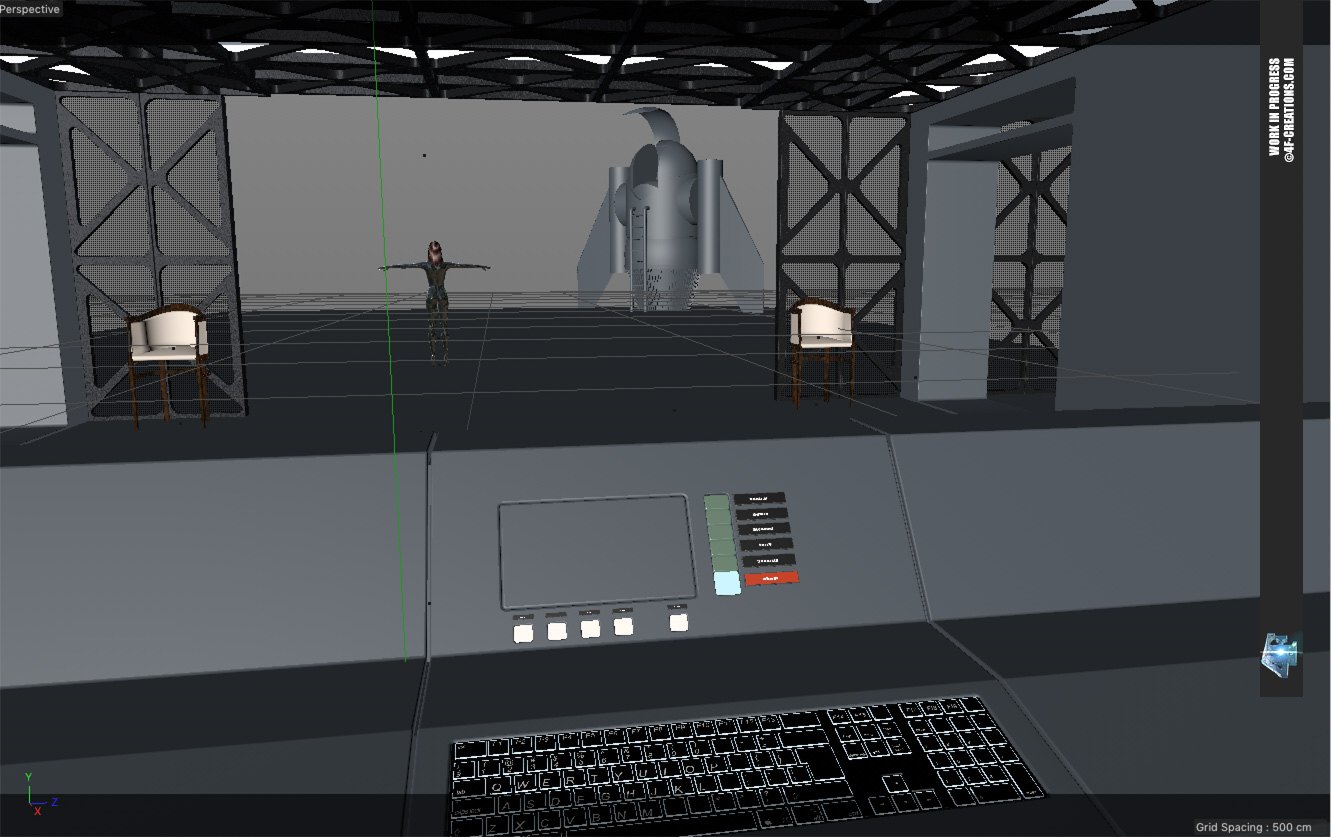
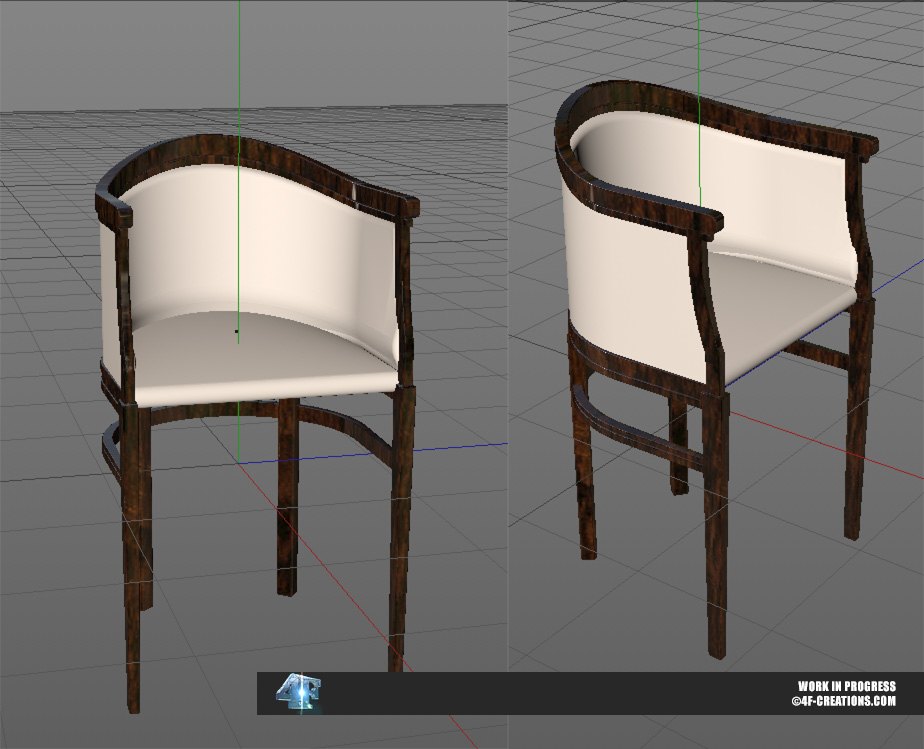
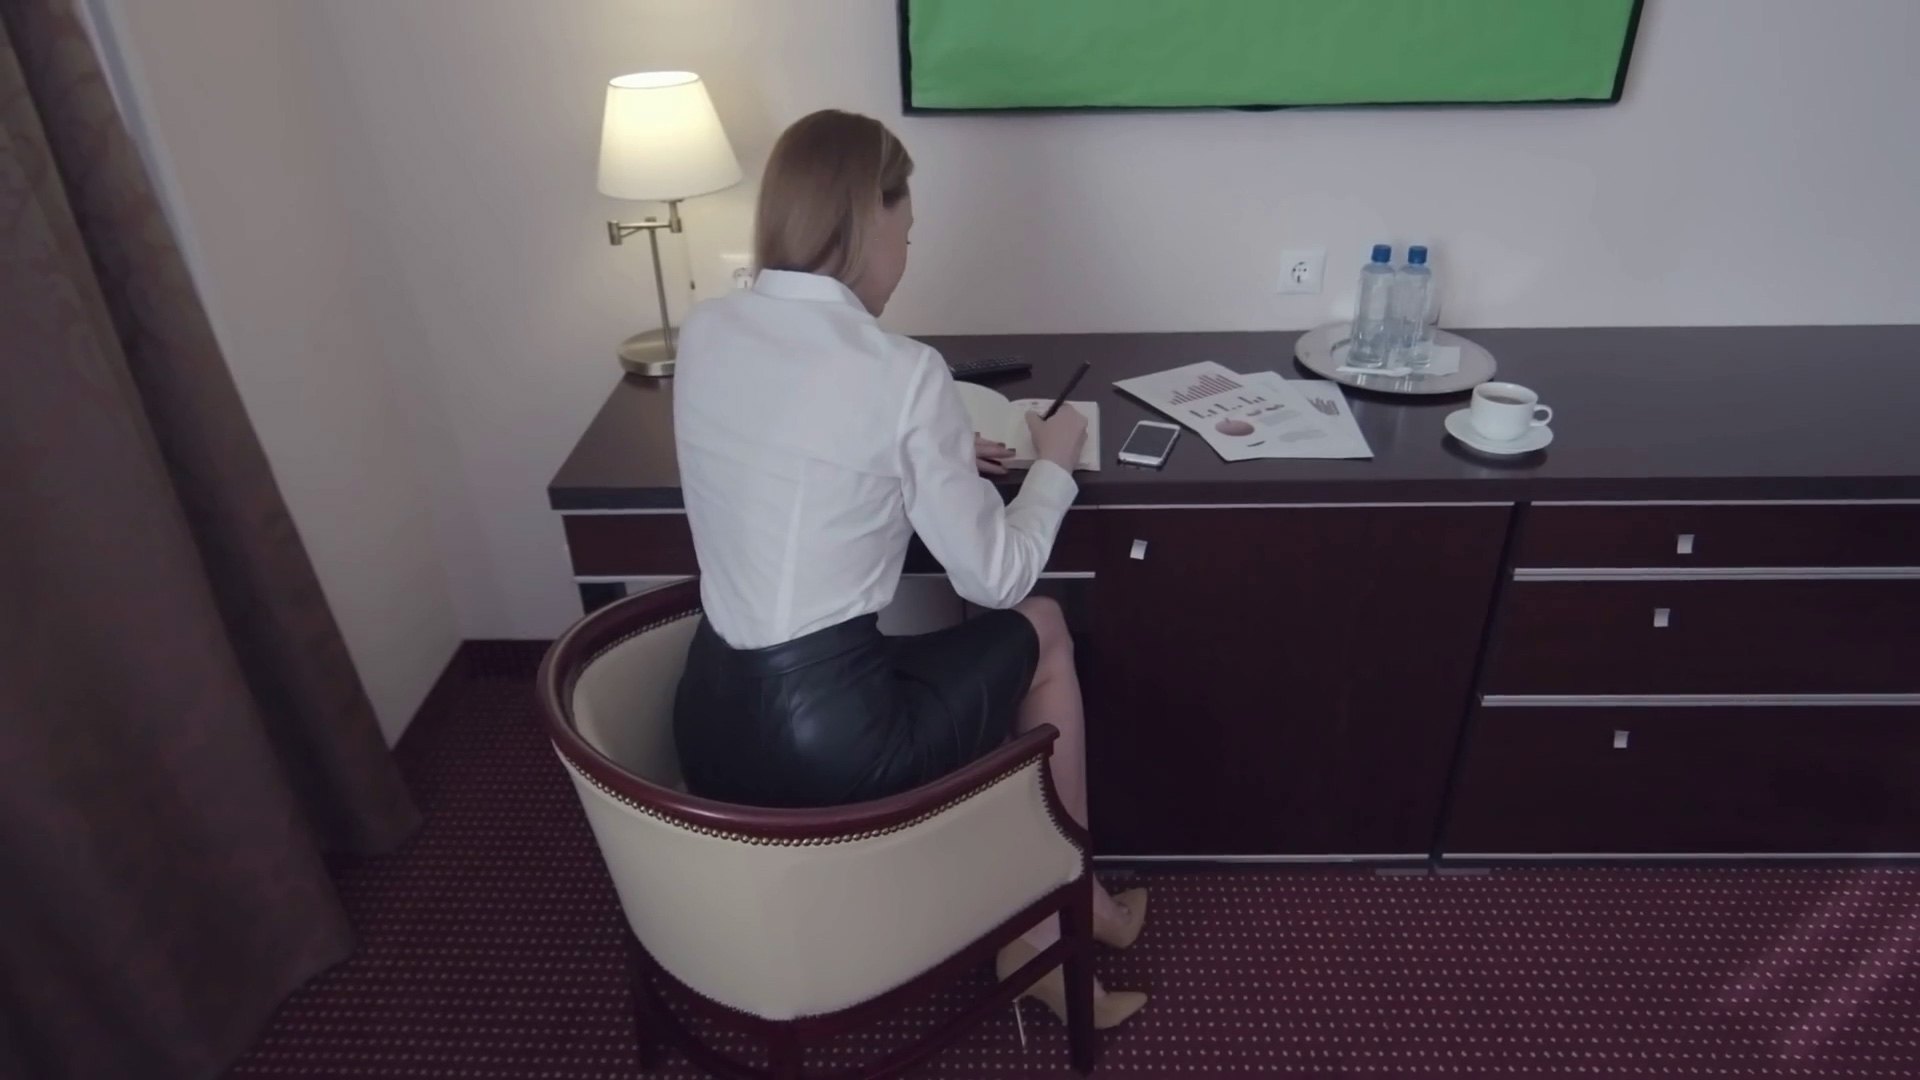
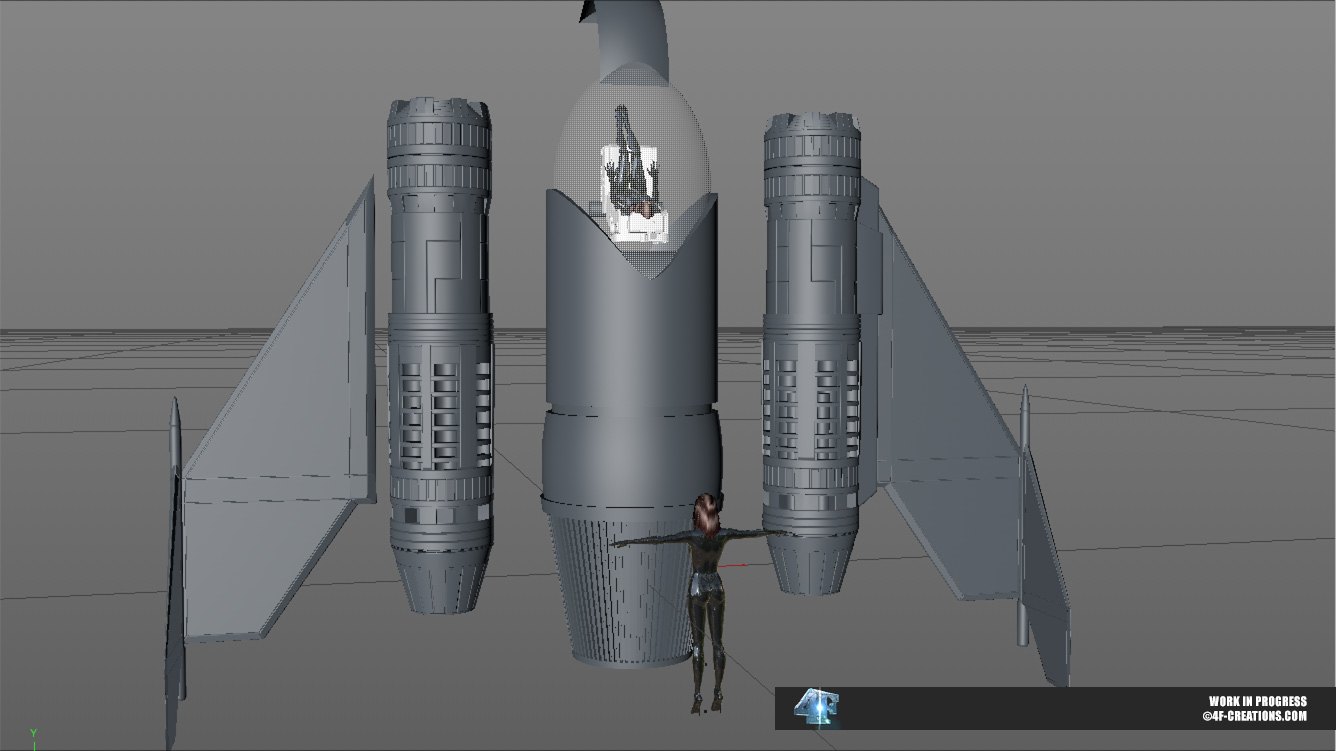
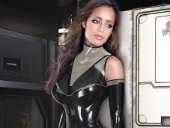
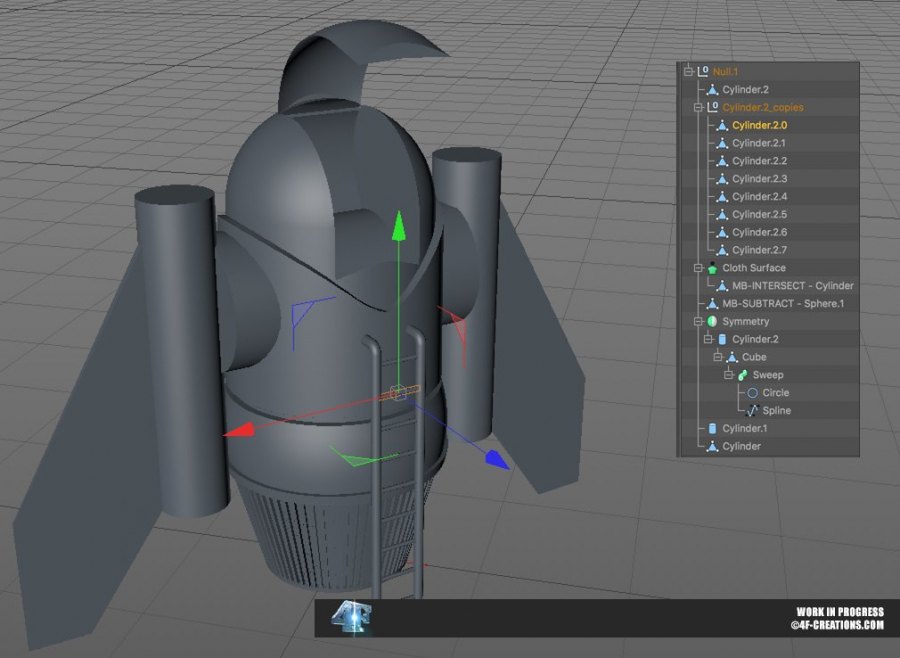
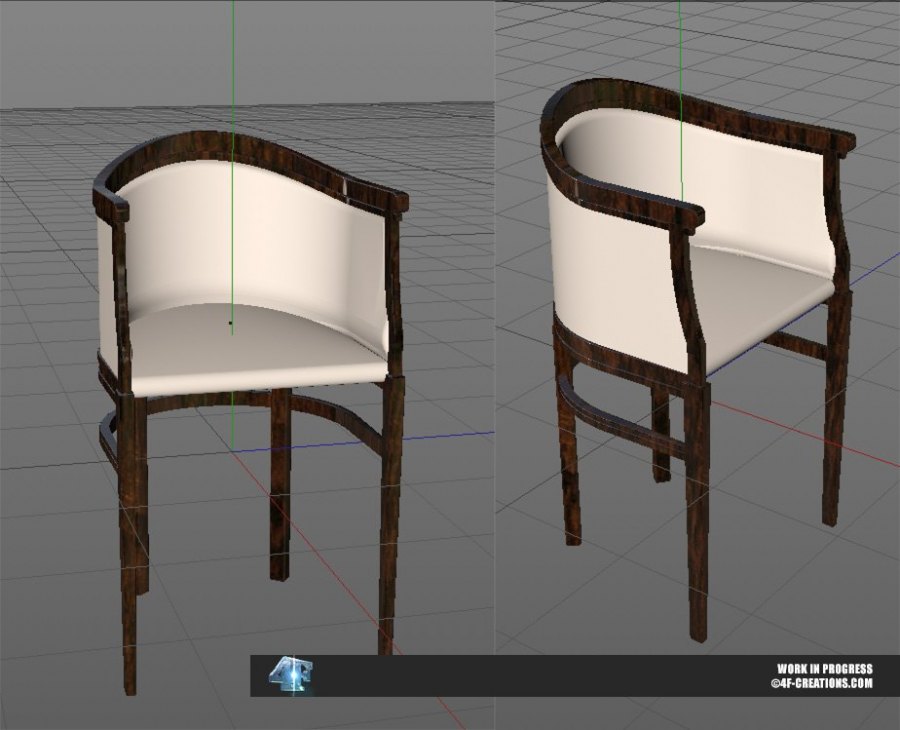
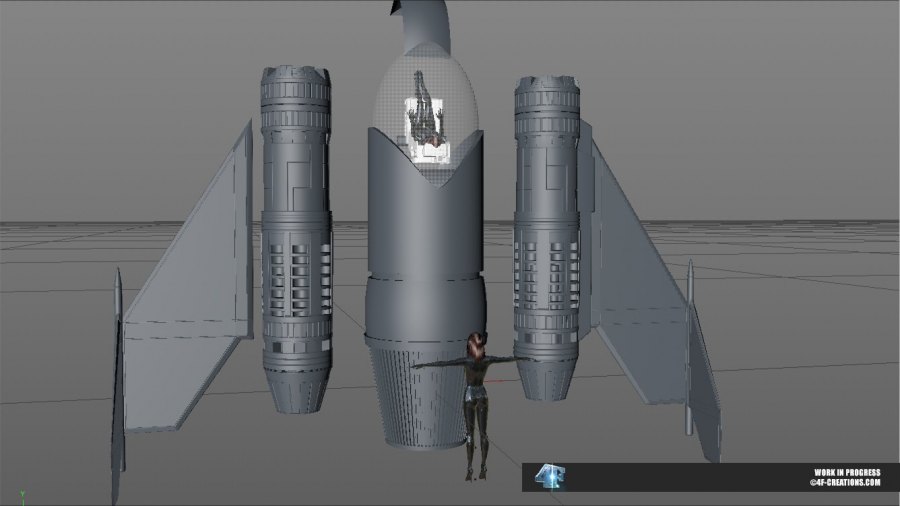
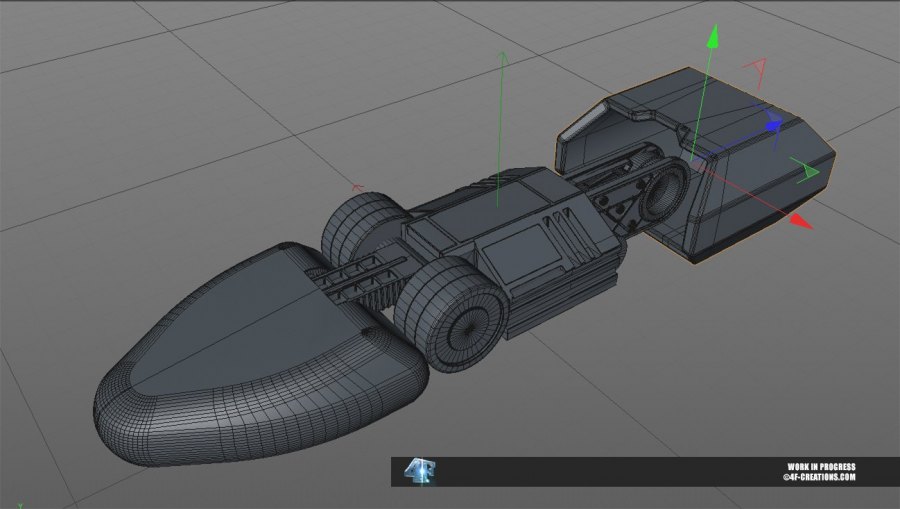
Following up from the December 5 Works in progress I have a quick update. What I have in my head (what I want) is a 2-3 page "comic". But I'm not sure if I can enough material together for it. If not I'll switch to plain image with text thingy. I'll just have to wait and see where this "ship hits the shore". An interior I finished last week: This is another interior. One I'm struggling with for the past 2 days. A look from behind an information desk/reception. The goal is to we have someone leaning over the desk while we get a clue where or how this guest did arrive -> rocket like thingy in the back. Far from being a furniture crafter, I don't dislike how the chair in the back which I made yesterday turned out. It's made after I did some searching about information desks, more what I could find behind them which led me to the next image which made me realize I liked the chair so I decided to see if I could model it and use it in my scene. Prototype of an One person Rocket Glider (ORG) I slapped together yesterday. I didn't like the 'ORG' much yesterday but I had spend 6-8 hours behind the computer and it was time to call it a day so I turned on Netflix and the 3d season of 'Travelers'. This morning I decided to see what would happen if I took the prototype and started to refine it, It's far from finished but it's getting some character I think. Another thing I worked yesterday on is a 3D keyboard. That's way more work then I ever expected. Because I'm bad at UV mapping I'm forced to make for each key a separate texture then apply that to the key. Yesterday I worked on the far right side keys and realized that I didn't like how big the letters and numbers are. Which means I can manually redo all textures again. It's a good opportunity to start properly naming everything as naming things cube-cube-cube-cube/mat-mat-mat-mat etcetera isn't really helpful if you're looking for one specific material or object. Last wip contains somewhat of a spoiler so I turned it into a link (as I cannot seem to get the spoiler tag to work ). It's another interior with a big indication what's going on, so if you rather wait for the final image(s), do not click this link.


-
I always try my best to do latex - fur combo's. It's always in the back of my head. My biggest problem, the fur covers up the shiny rubber.
-
Intruders Sister Sasha X-Suit Mixed Messages Which raises a question, is there a need to "zoomify" older images?
-
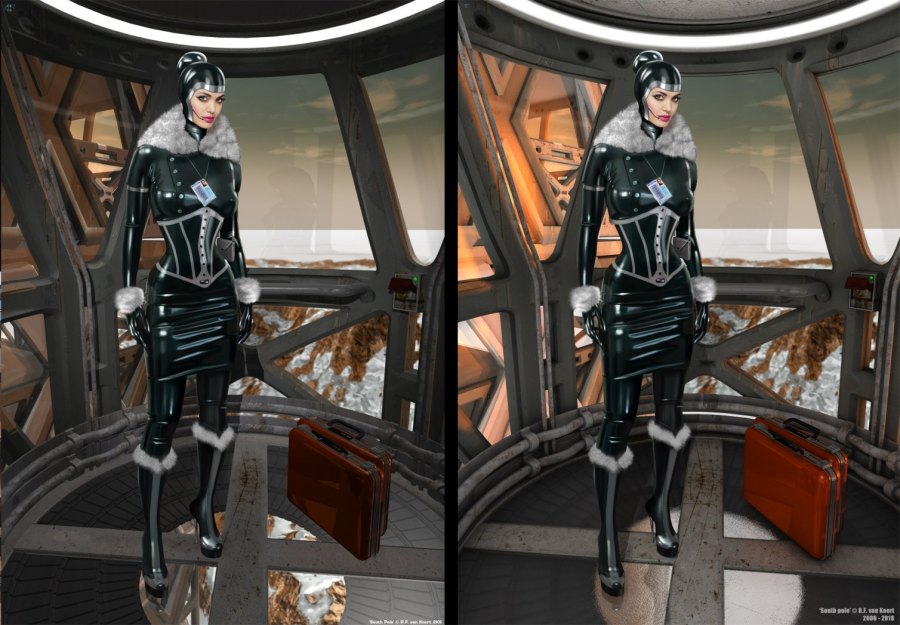
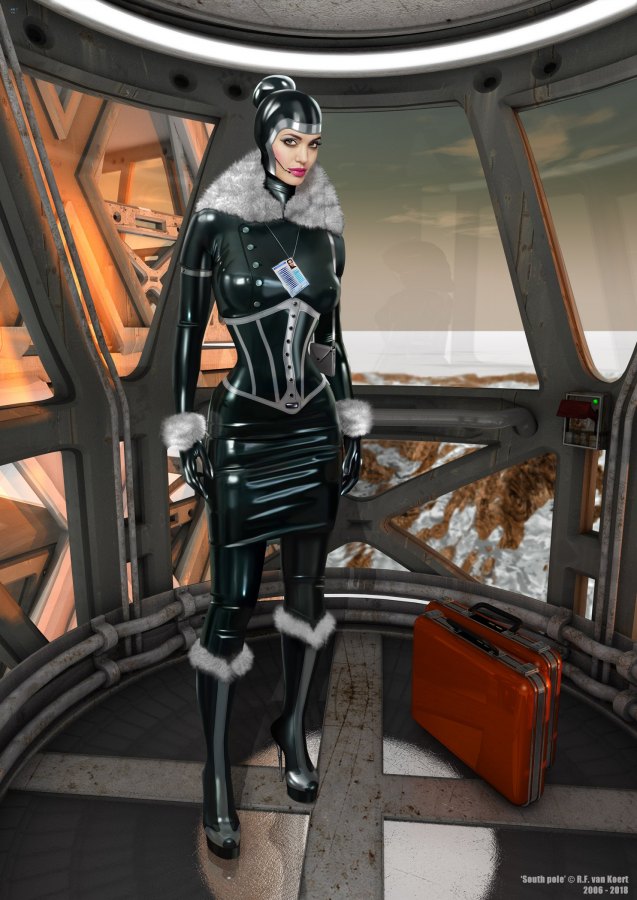
I upload at times some of my work to Deviantart. I wonder how long it will be what it is given some of the "artworks" there and with Tumblers upcoming ban on adult content (that's gone hurt some people) and the increasing PC world we're forced into in the back of my head but, anyway. I was doing a repost there as some of my uploads resides there by mistake in a subfolder you can only put images in, not out. Looking at it I remember some of the critiques I got when I uploaded it years ago to another place and seeing it yesterday I had to agree it was lacking in some places. Luckily I could trace and the original 3D .c4d file and the non-flattened 2D .psd files from 2006. So I made some changes and a quick medium sized render which I put up here. I will make a high-res updated version at some point but that takes 2-3 days to render out and I need the renderer for some other things right now. So when that high-res version is ready I'll drop it in the gallery. For now you'll have to do with a medium sized version 2 of 'MNW - South pole'.
-
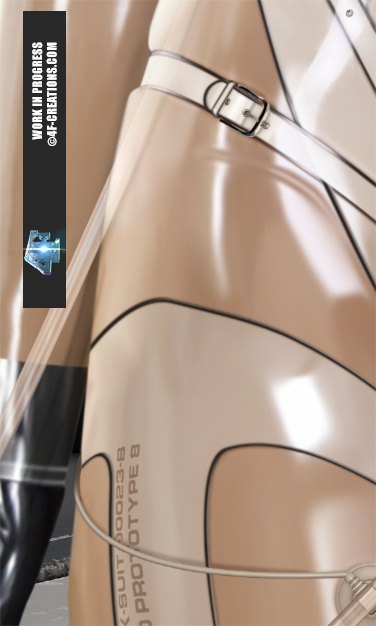
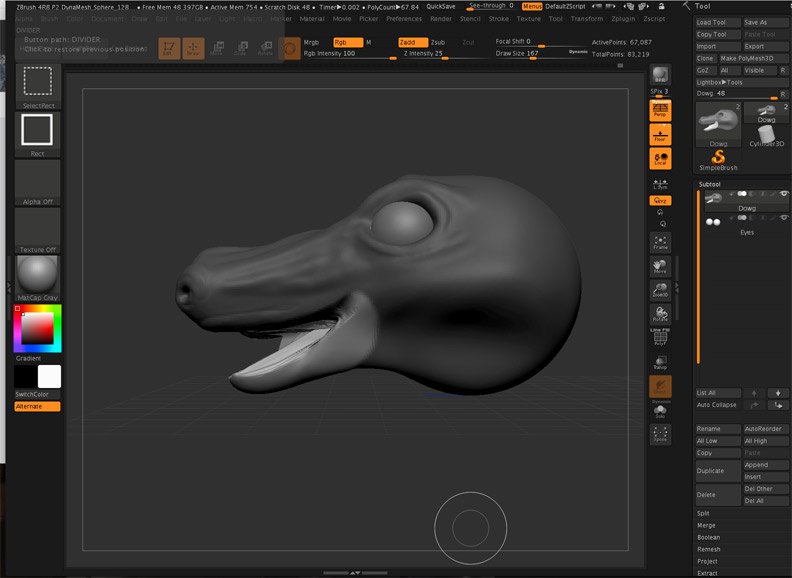
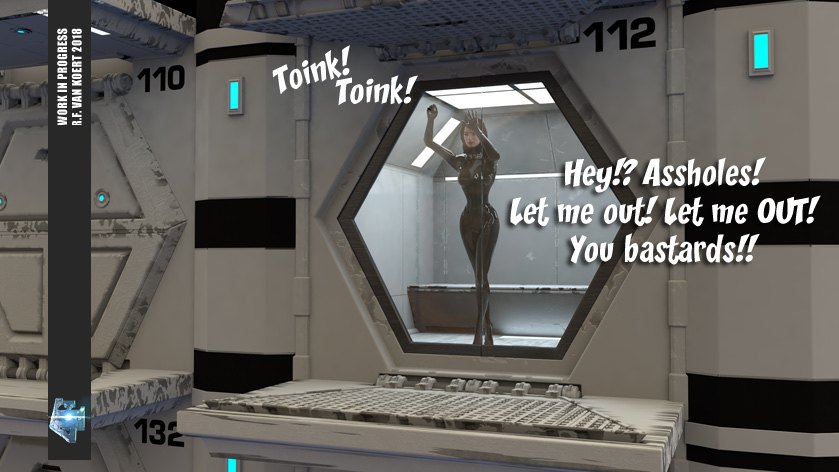
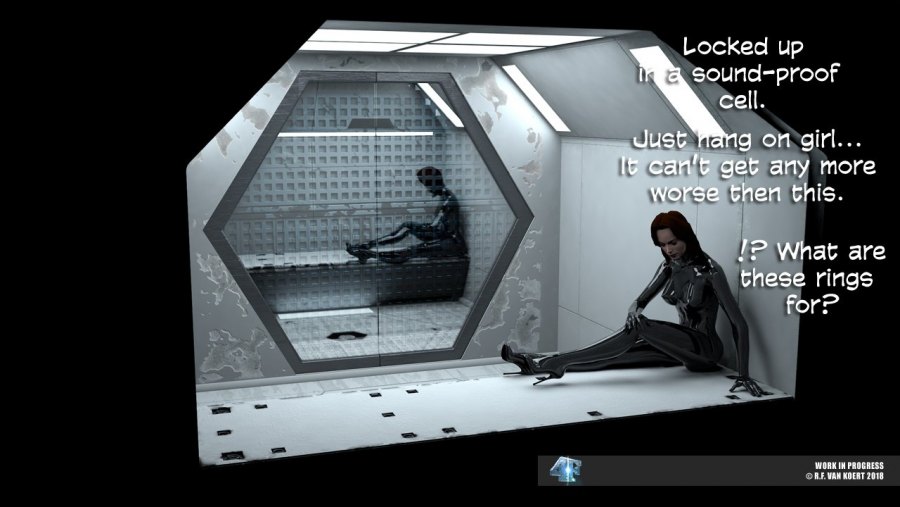
Well, uhm, oops! It has been a while. Obviously I'm unable to do daily or weekly posts. Sorry about that. One of my "problems" is that I don't want to give away too much what I'm working on. An other is that once I do, it often happens that I get "stuck" on an image and have to jump onto another project. Which means that while you are anticipating something I've hinted at it may take month's (or more) to arrive. I understand that this can be very annoying for some people. So when I'm in doubt that the project I'm currently working on will be the next 4F image, I rather keep it close to my chest until I'm largely sure it will hit this 4Forum. It means at times I have nothing to show. I just hope people who read this understand that my creation process is not really linear. Subscription fees: Something else, I've mentioned this before in the newsletter that you can receive when I have an new image ready. Subscription prices are going to change. If you're currently subscribed and use the recurring option for 5.- bucks/year nothing should change. For new members or those who don't use the recurring option the subscription price will double. $14.95 for a whole year (still crazy cheap I think) and 7.50 for recurring. This change will go into effect early January 2019. Scrapbook content: Back to where this thread is meant for. Some hints at what I'm working on: The promised 'X-suit' is almost ready. It took longer because the sensors I used first on Adreline's suit had 3 input/outputs. That means 3 cables going in/out (times 20). It sadly created a unappealing visual mess. So I had to go back several versions and redo a lot of things. But she's now at a stage where I'm confident she'll see the light here pretty soon. While working on this one I came across series of images with a distinct 'damsel in distress' motif. The images lined up so greatly my mind immediately created a tiny little story around them and I had to ask the photographer if I could use a few of his images and he said yes. With one little caveat, I couldn't make money out of them. Now I have been crushing my skull for a long time what to do for the 'Advanced Members'. And well this will be something you as 'advanced member' will be able to enjoy too for free. Once it's done and you're not hesitant towards a 'damsel in distress ala cart 4F'. First up a "robotic finger" I'm working on. No idea how the rest will end up looking, I'll just go with the (polygon) flow. Oh, you know where this is going. I started by mimicking one of the photo's of the 'damsel in distress', figured out where the light was coming from, really important if I want to build a 3D environment around her, sort-off copied the rest of the room she was originally in (no idea why but whatever) then tried to see if I could build a 3D panel gag. This was more to see if I could morph the final product properly around the damse's lower jawl in the real photo without it looking too fake. Original photo she's wearing tape. I'm not so "tape-isch" myself, besides I'll want to create a high-tech panel, which will blend in better with the rest of the scenes I'm building and fits the story much better. So when I got the 'tick boxes' ticked on lighting and first prototype of her panel gag I moved on to building part of the interior the damsel ends up in and then tested out some self made more modern looking shackles. I don't mind that things intersect here. Firstly its a test render, secondly once I'm satisfied I render things out separately. Besides that, no matter what, I'll *never* be able to get the Poser doll in exact the same position as the real model. Let alone having the same measurements/height. But it's handy to get an approximation of where things go, to cast the 'oh so' important shadows and in this case, because the original photo partially cuts off the models legs, get a proper notion how and where the missing parts end up. I like 'my' women preferably with all limbs attached. I did some other stuff a few weeks ago, no idea where to put it so I put it here. Reason for the next is that I'm finally, finally close to add some story to the Adreline images. But going over some old images I really feel the need to update a few of them. Some backgrounds can be better, some outfits could be shinier. So to prepare for that I build part of a sleeping bunk which needs some modifications as it leans a bit too much on the original artwork it started from, and while working on it I was like, bed-bed-latex-bed, hmm... can I model a vacuumbed? So I put my 3D app in sculpting mode and just started carving away. The result is not too bad. Needs some work but the beginning is there. How or when I'll use that, I have no idea but it's good to know it falls within the things I I'm able to pull off. Ok, this took way too long (+2 hours) to compile (another reason I'm not doing this regularly) so I stop here and get back to Adreline's 'X-suit'. Cheers!


-
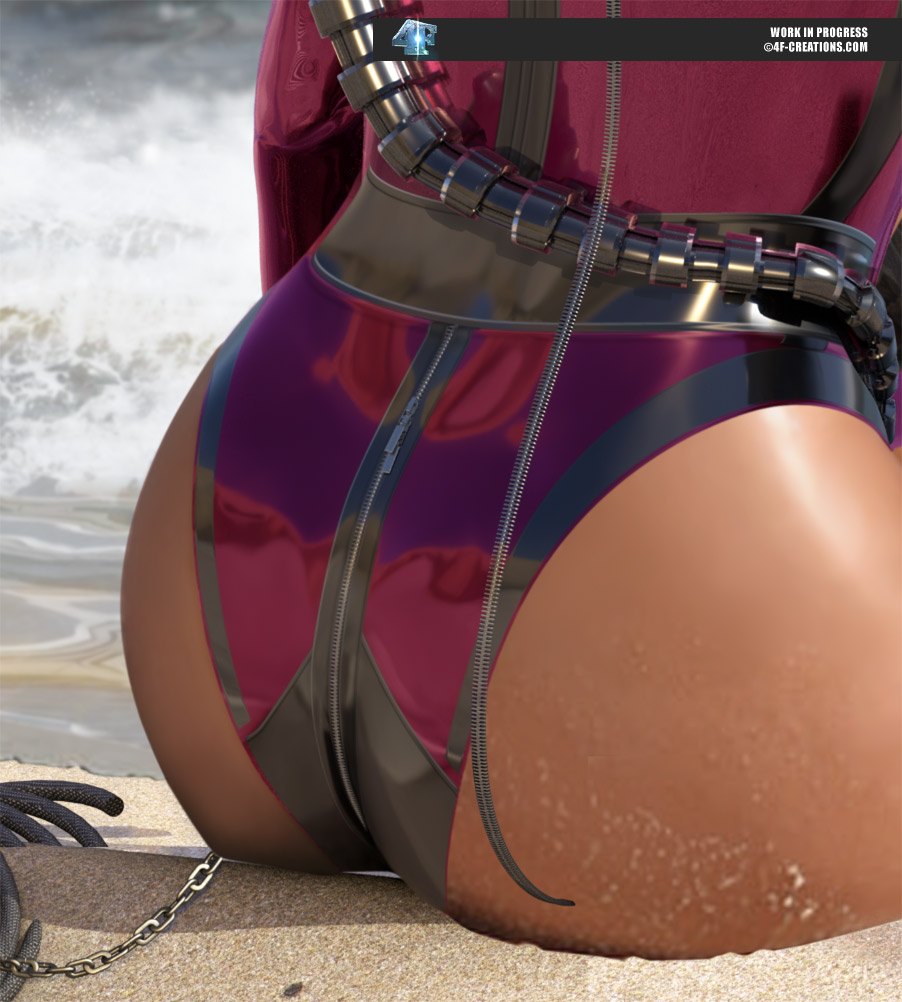
The original image for this was gracefully provided by Scotty JX from his 'Actiongirls' website. I've got 2 lists. One a 'to do' list with amongst others your requests and a second one with 'want to do' items on it. It largely contains items that either take way too long to put together (a big bar scene for example) or go beyond what I feel are my technicals skills. I did some outdoor scenes before. Never really that convincing. It all has to do with reflections, how they behave and how you and I expect them to behave. In an interior scene it's relatively easy to convince the viewer that the studio lights reflecting of the shiny second skin belongs there. Place that same second skin in for example a forest and well, it doesn't usually look good or realistic. I had this image for nearly 9 years on my HD's. Knew I wanted to do a crashed space opera scene with it, while I had no idea how to make it believable. Previous image (called decommissioned) was a mayor step in achieving this. Instead of my usual approach I used several 3D models to graft the shine from an HDRI image into my image onto the main character. I have been lately rendering more and more 3D parts of an image out and then incorporated them into the 2D image but never on this scale. It means many renders have to be made because things don't fit at first attempt, like they are bend the wrong way, I change my mind or figure there needs to be more or something new. For this image the result was that I ended up with 176 different photoshop layers. For me that's insane when I consider having 20 already much. But in the end it was worth it. On the left btw I'm in the process of merging part of a 3D rendered zipper into the sitting beach girl's costume. Originally she was attached to a chain as well but I found it became too much clutter and just buried most of of the chain under the sand. On to the next one!

-
Yah, yah, I see you want cake and eat it. But seriously I don't think I have anything that I can put in place to function as a "seatbelt checker", unfortunately. I'll keep it in mind though. As for the safety in being transported 90 degrees opposite of the direction the transport is going, when I started this I just had watched 48 episodes of Agents of Shield. In there they always sit in the above mentioned direction when being in the back of the Quinjet. And I know some RL troop transports have people positioned the same way. In Aliens they sit side by side too when they leave the Sulaco. Lot of subway transports have you sit with your back against the wall too. I think it doesn't matter that much what side you're facing, because if and when it goes that bad you're smashed potato anyway.

-
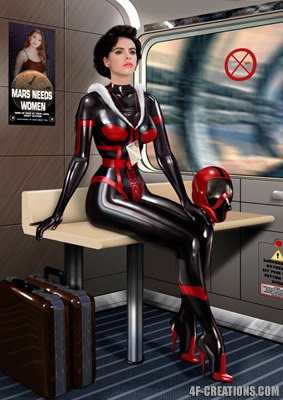
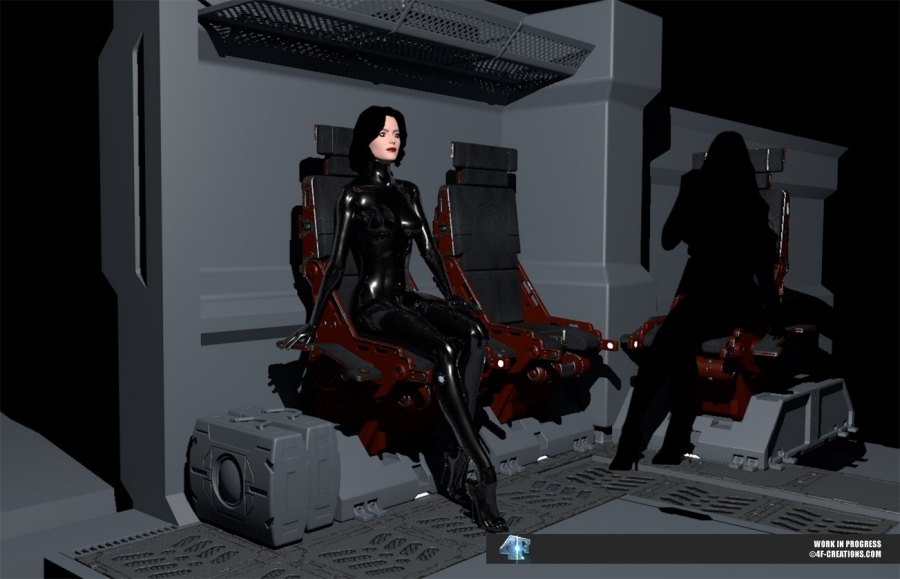
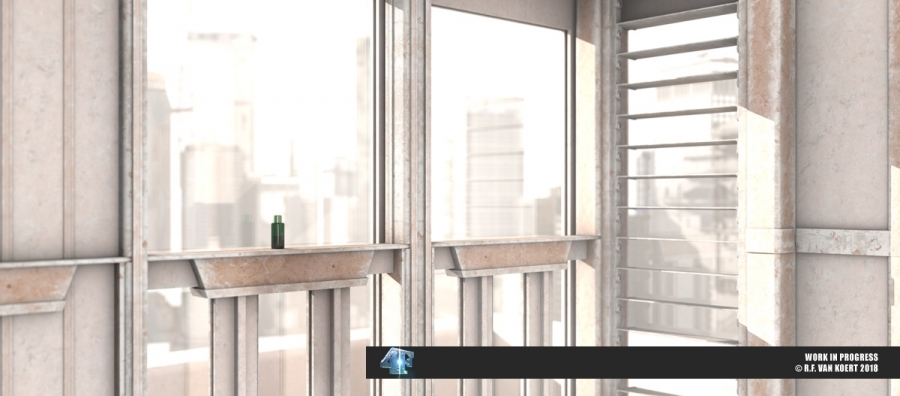
So now that I finally delivered ^this to the world we can move on to the next job. One of the images in the "fire" is a rework of "VTT" which as you may know stands for 'Vacuum Tube Transport'. The transport vehicle operates in a vacuum and you could say some of its passengers do the same being snugly fit in rubber latex catsuits, there isn't much air moving around in there either. (NO room for). Anyway, Rebbecca looks as yummy as always nicely cinched in neck-high rubber but her environment could use an upgrade. It's not really functional you know? I mean IF this would be real and the VTT made an emergency stop, poor Rebbecca would end up like smashed chicken coated in a thin latex film on one of the walls. (No I don't believe in Star Trek's inertia dampers). So at the very least she needs a better seating to park her shiny behind in and preferably something that keeps her there in case something goes terribly wrong. It happens to be that I have been working on an other project that just has the right chair to put Rebbecca in. It means I have to drop the chair for the other project but it was going nowhere anyway so I'll see what's next with that one when I figure out how to solve the problems it has at the moment. Secondly, alone is just alone. I have been trying this year to have more then 1 latex model in my scenes whenever possible, you may have noticed that. It makes things more complicated but, I think, enhances the scenes tremendously. And I think in this case Rebbecca could use some company. I'm not thinking a bus full but one companion or guardian might give the scene more "jus". Probably a guard(ian) as there is some weird stuff that happened to Rebbecca on her way from the dark side of the Moon to Mars. But more about that part of her journey later. (Yeah, something went wrong with her heels, I extended her legs while being rigged...;) ) So this is what I got thus far for this project. I'm thinking about having the vehicle stand still at a "VTT station". I need to dig around the game 'Dead Space' I think, for some inspiration on how the background may look for this. Been a while since I played it, never was able to finish the 3d. It's not too important, may get blurred but it may help me figure out what kind of "blocks" I can put there to create a convincible whole.
-
Things like this make me sad, Firstly because one or more anonymous non representatives decide what you and I can or cannot see according to their set of rules in a way they find it proper to interpret said rules. Secondly because this site is blocked because of being categorized as "pornography". Pornography, printed or visual material containing the explicit description or display of sexual organs or activity, intended to stimulate sexual excitement. I'm skimming borders sometimes, but displaying pornography? Really? I always thought it was in good taste. Nothing that cannot be witnessed by turning on Netflix or watching a music video clip (Beyoncé making suggestive moves while dressed in latex) or going to the beach (topless women abound). Must be me being Dutch. Where just used to too much. Ugh.

-
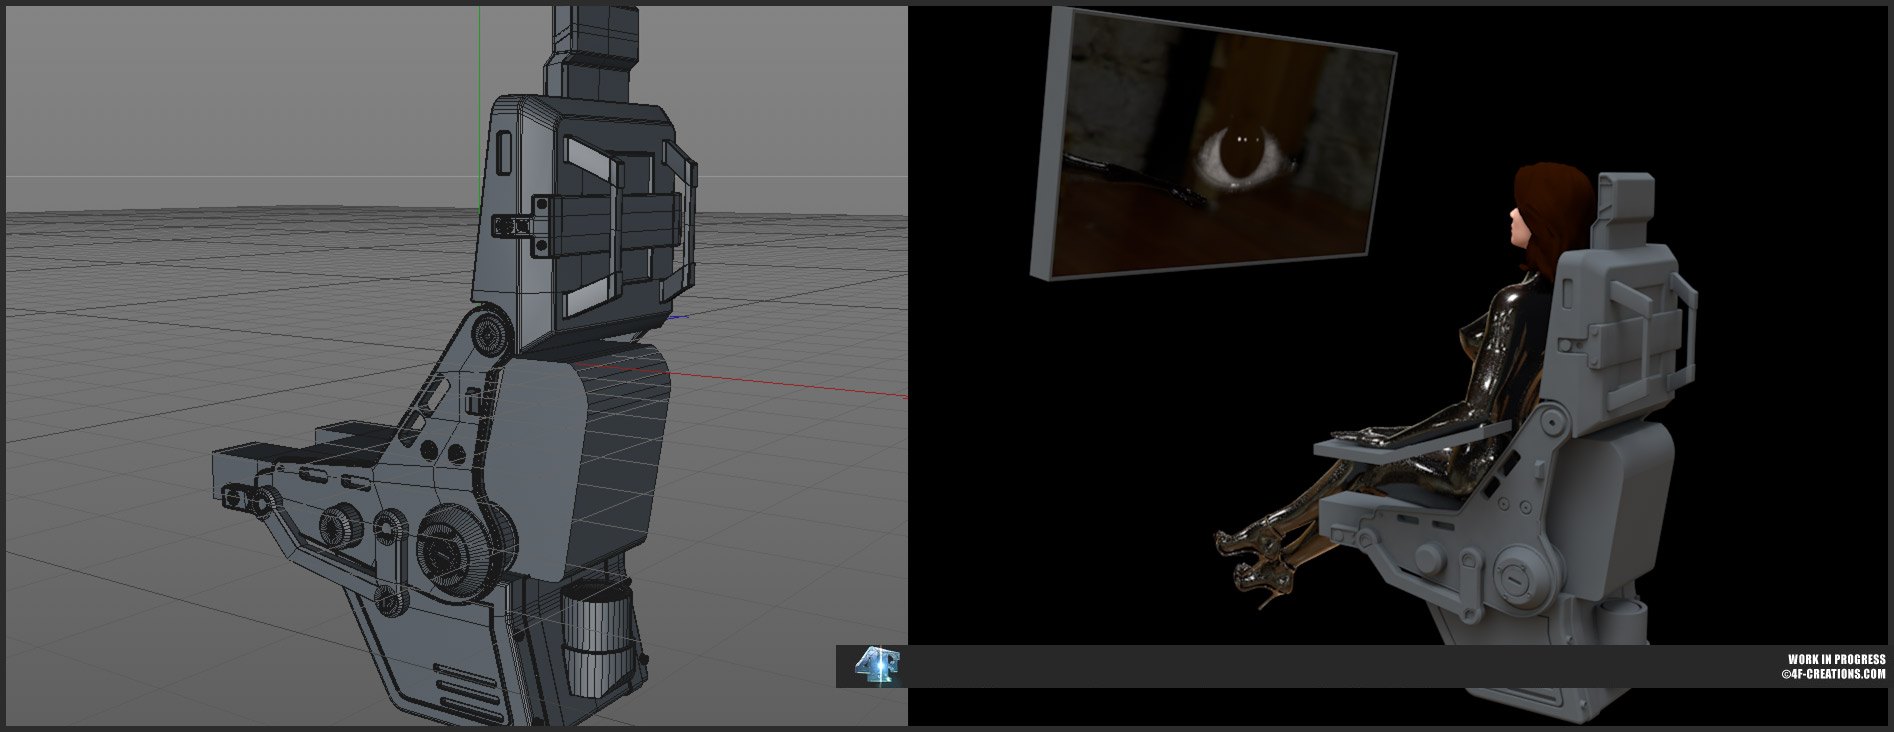
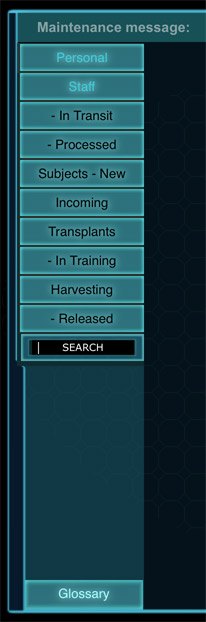
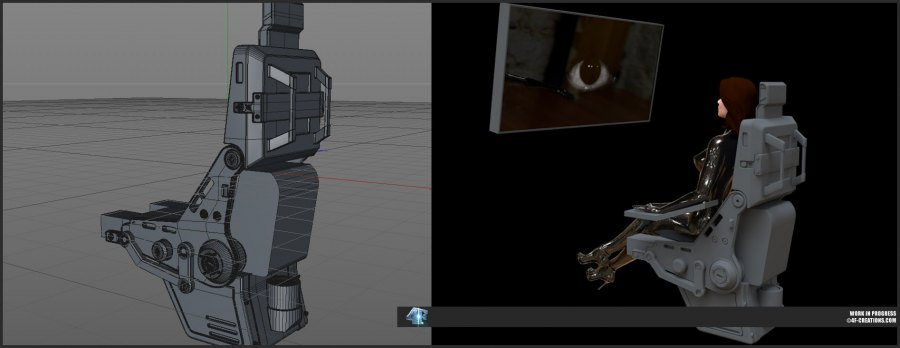
I've updated the 'Shiny women' today with a few more files for those interested. Access is free you just need to ask. ? Been working a bit on this interface as well. And this pilot chair which I need for a short scifi story, which is going to be fun. ?

-
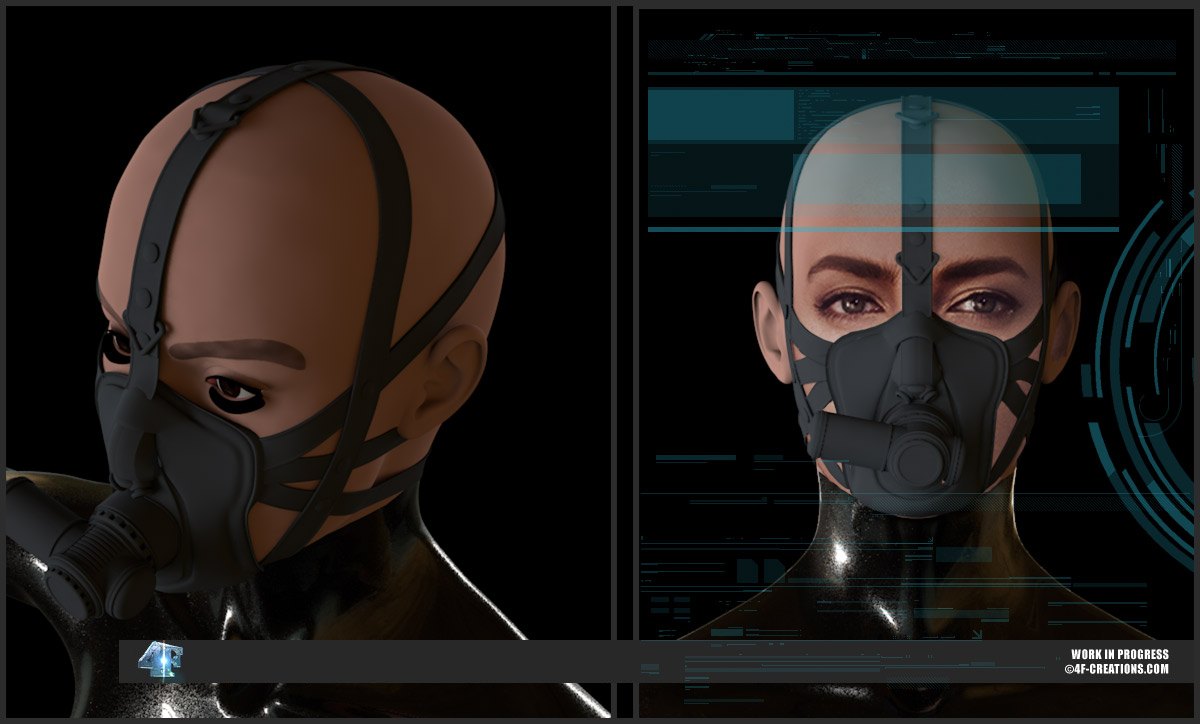
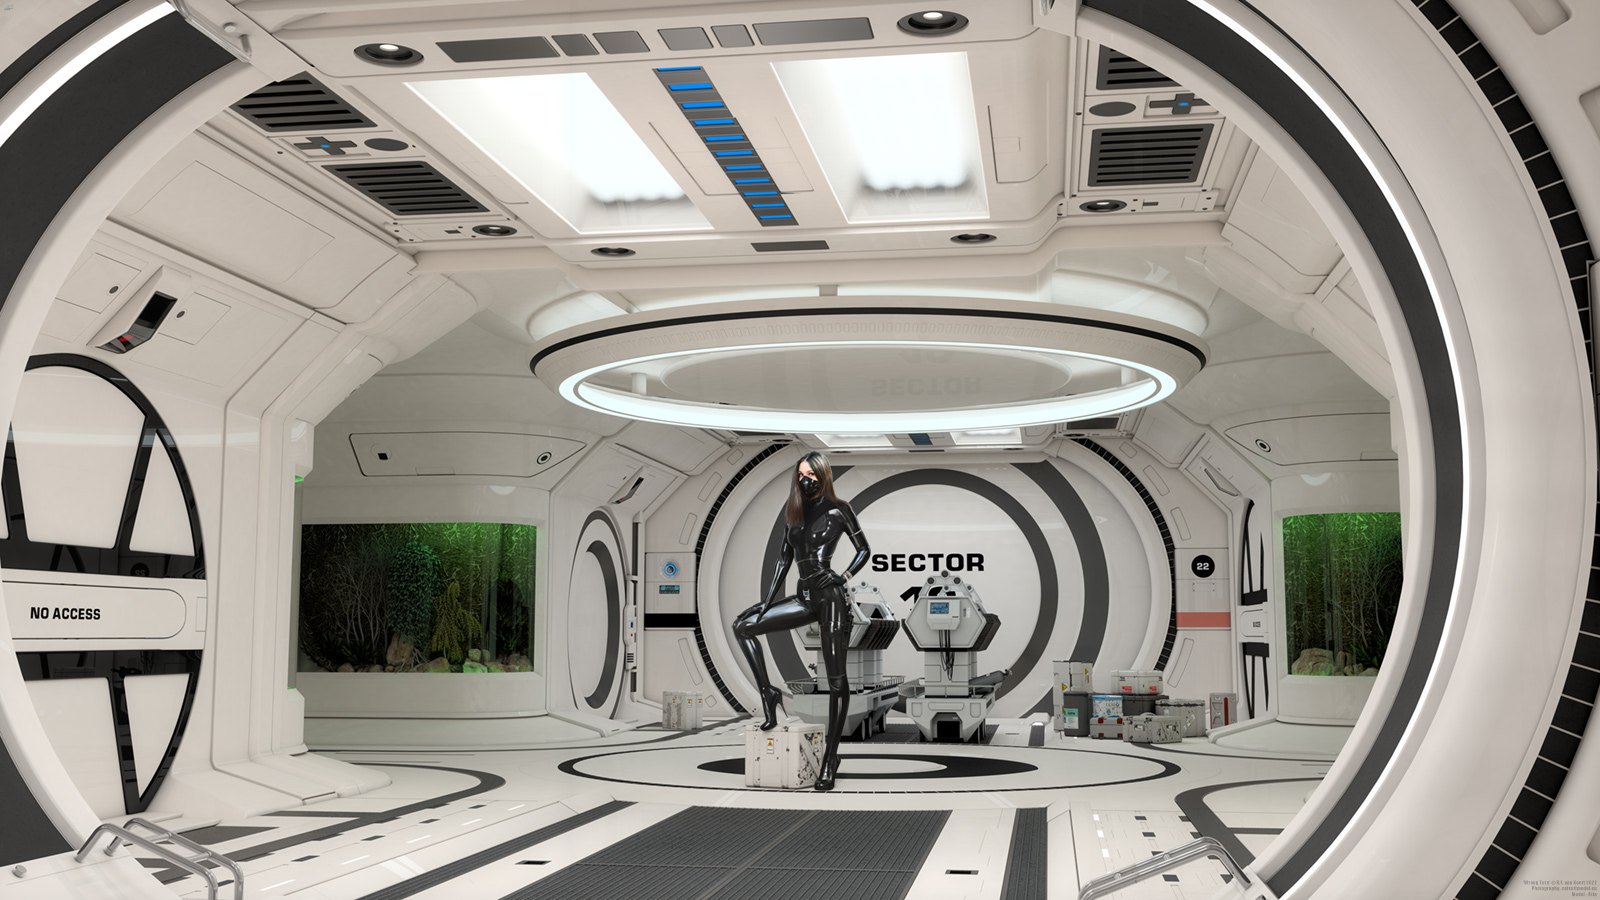
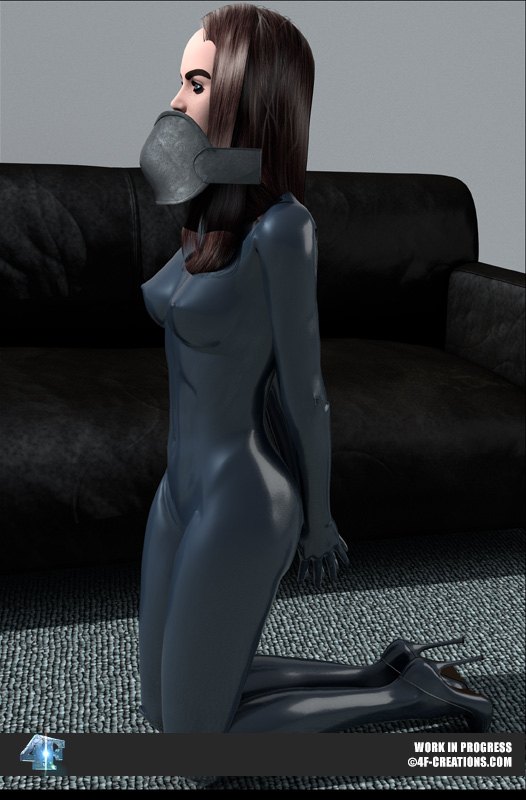
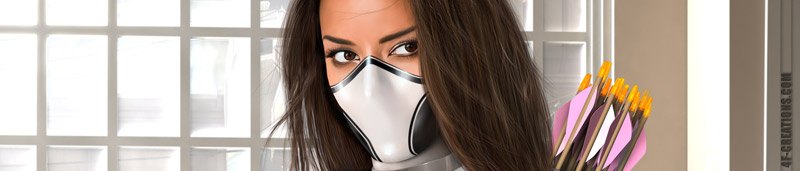
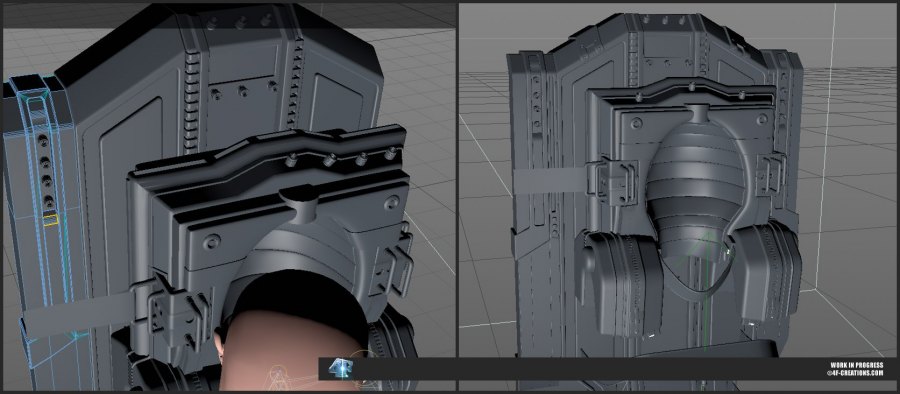
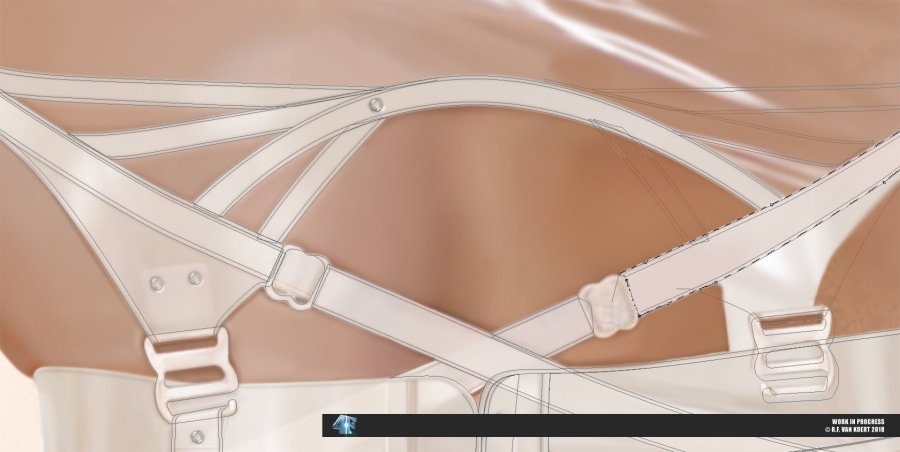
Let me continue (you probably already know this) by saying that I'm not a mask fan, or better a full face covering gas-mask fan. I like the above because it partially reminds me of an old young adult(?), low budget-like as in Captain Power and the Soldiers of the Future (anyone remember that?) scifi series I saw a few decades ago ( I haven't got a clue what it was about or its name). One of the female rebels(?), she reminded me a bit of 'X-Men Rogue', was wearing a tight (yellow?) lower half face covering mask but it left enough room for the rest of her face to be expressive and I sort off fell in love with her eyes. I think it's sexy way of masks. But for me, anything more and there's a big chance it starts to creep me out. Not sure why, being afraid of suffocation may be a good root cause here. Back to the scene at hand. When I was connecting dots in my head a few months ago and came up with the story that lead to this scene I realized it couldn't be done without some sort of a gas mask/rebreather. I looked a bit around on "turbogreed" then decided to save me my money and build something my self. I did my best to have the straps not interconnect, at least not on the side of the face you can see. Except for the nose bridge (I'll shop that later on) this is as close as I could get to a 'this could be a real mask'. I don't think it's particularly sexy but it will serve its (evil) purpose quite well.

-
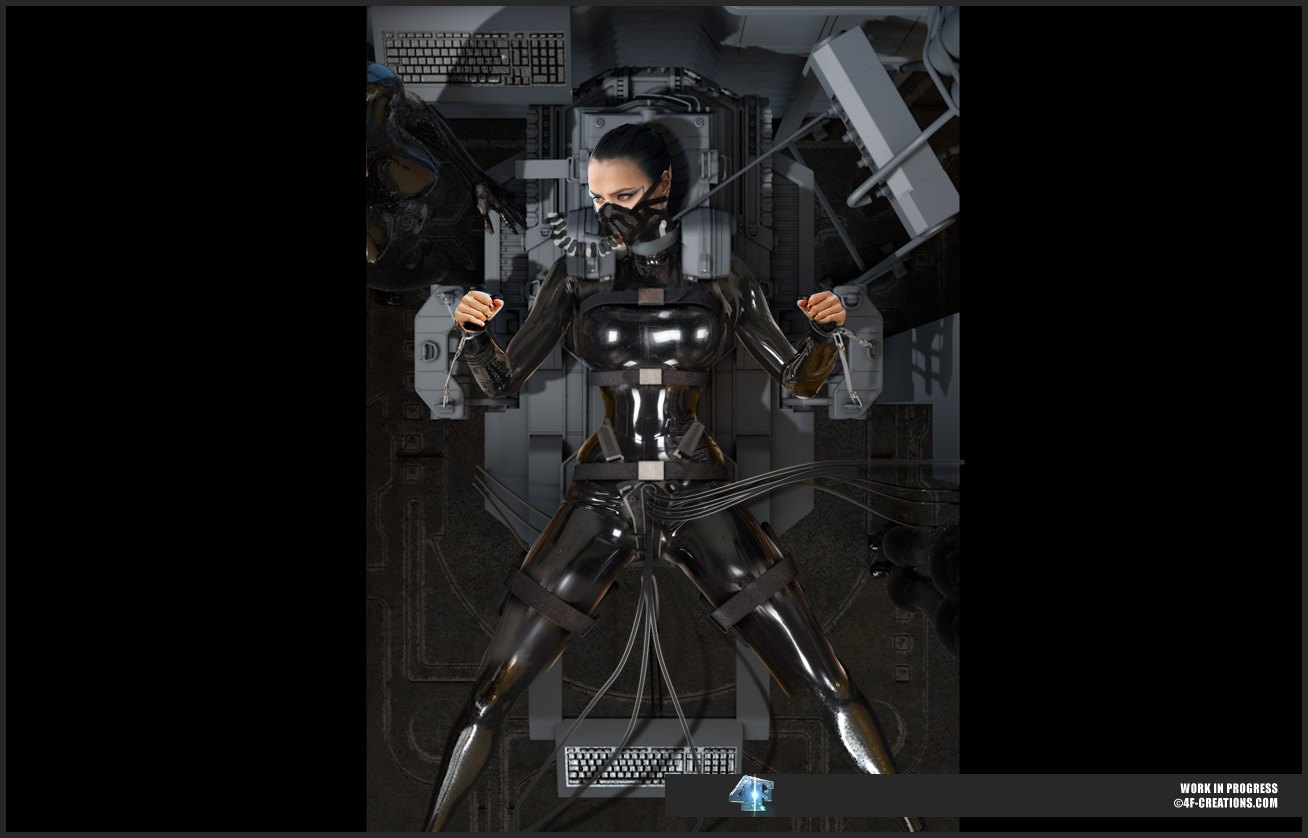
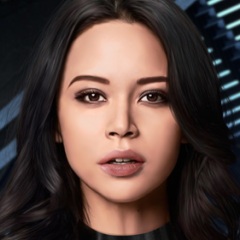
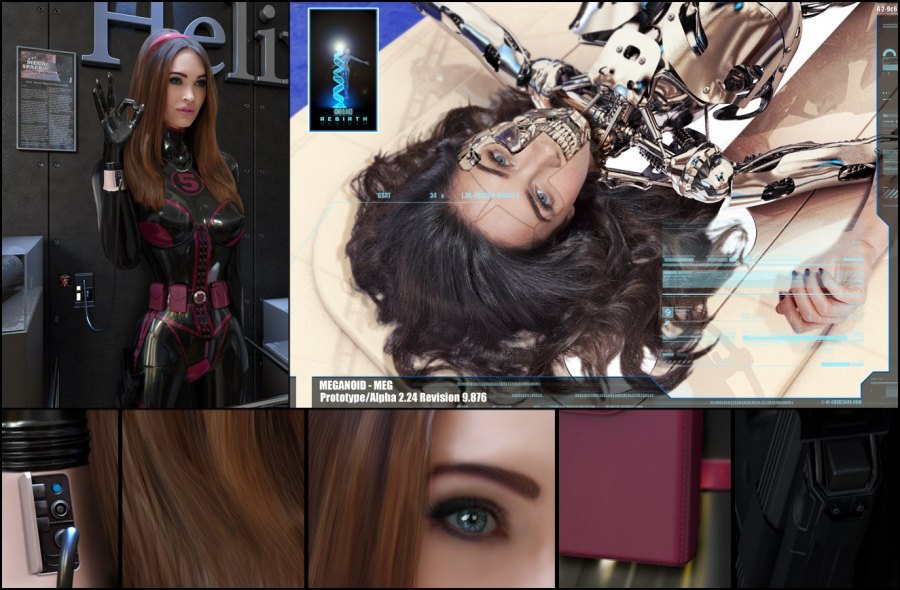
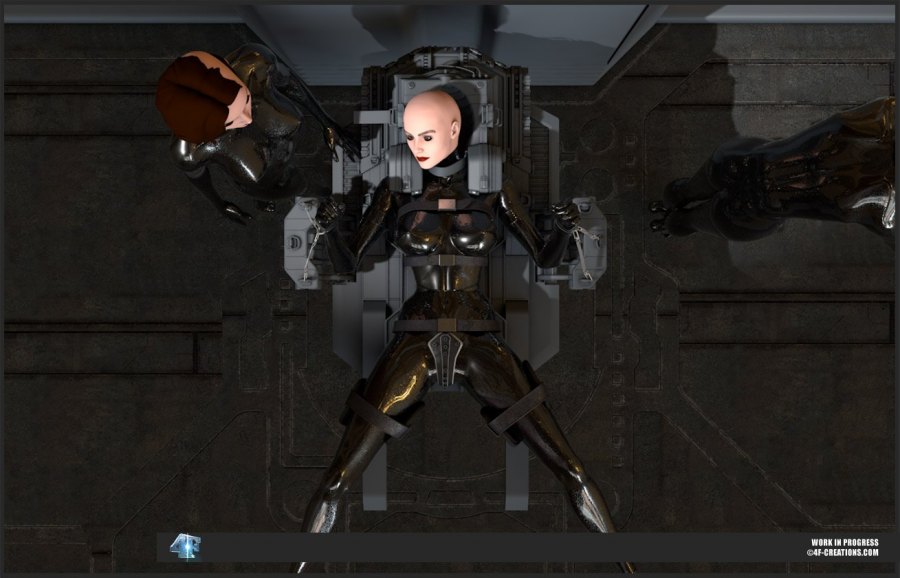
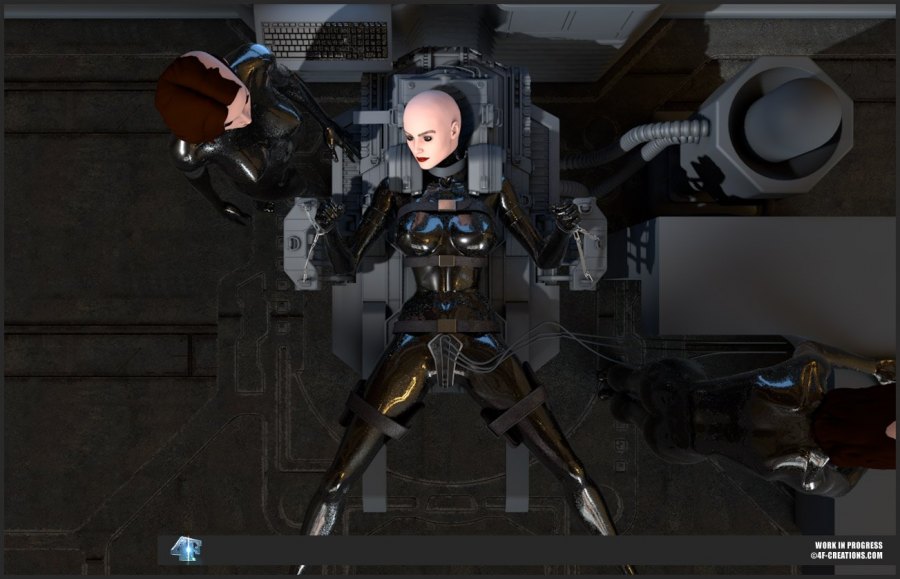
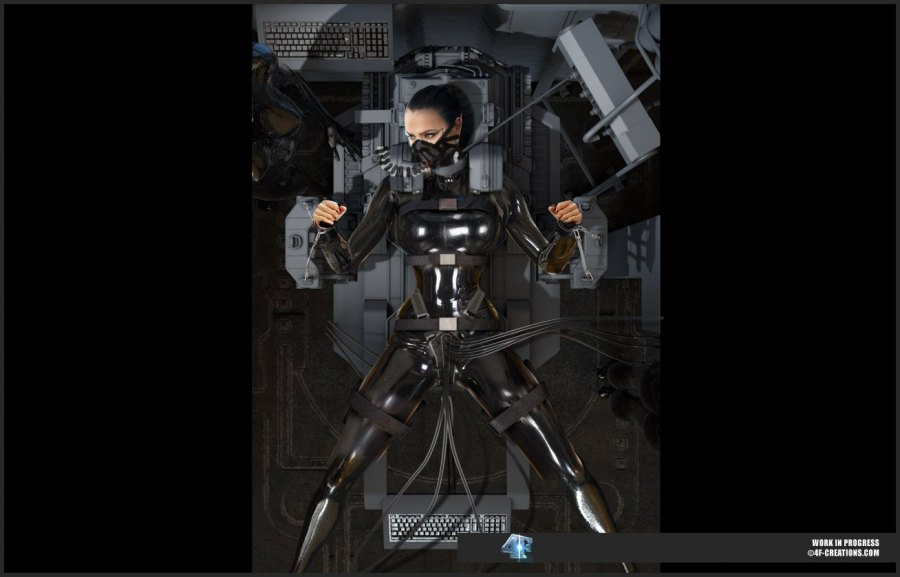
So after a bit and a fair amount of spinning the camera's round and round, placing newly made 3D models in the scene and refine some of them, it's time to pin down the top view perspective camera and apply some light. The original model was standing on a beach. Blue light, probably from the sky, reflected down upon her head and shoulders. That I will later on easily reproduce by adding some blue luminescent computer screens behind her, or if you like "above", her head build into the "main frame computer" located there. There's on the original image of course global light from being outside on the beach which I slightly mimic with GI and an interior HDRI. The original image had the model's face lit up, most likely by the use of some reflection screens you can often see assistants to photographers drag around with them. That will become a spot light with some medium hard shadows which targets the 3D stand-in's face. Putting in a 3D scifi floor, I made a few month's ago for another failed top-down project, I end up with this: Next I refine the "mainframe" and add in the blue screens. Because those fall of the image I can skip adding some actual code gibberish there and simply stick with blue illumination. Then I move some things around and create big blocks of stuff you might find around if you where actually in this 'testing-facility'. It becomes pretty clear for me that this is one image that will look best in portrait mode. That's also partially because I don't want to take the current center of focus away to tons of 3D models that I have to build for the left and right side of this image to fill things up. I replace one of the clunky looking 3D models for something more realistic and refined and then ask the big question: will all this hard work pay off? Will these 3D models merge with the already partially latexified 2D model mix? There's only one way to know for sure, time to bring the 3D into the 2D and see. I had to darken the back and left side of her head but other then that she (almost) perfectly fits into the image and the restraints of this examination table. Then I just doodle a bit around in PS, see where cables might go, lock some evil device on her hips and see that a mask here wouldn't go too badly over. Time to get back into C4D and build one!
-
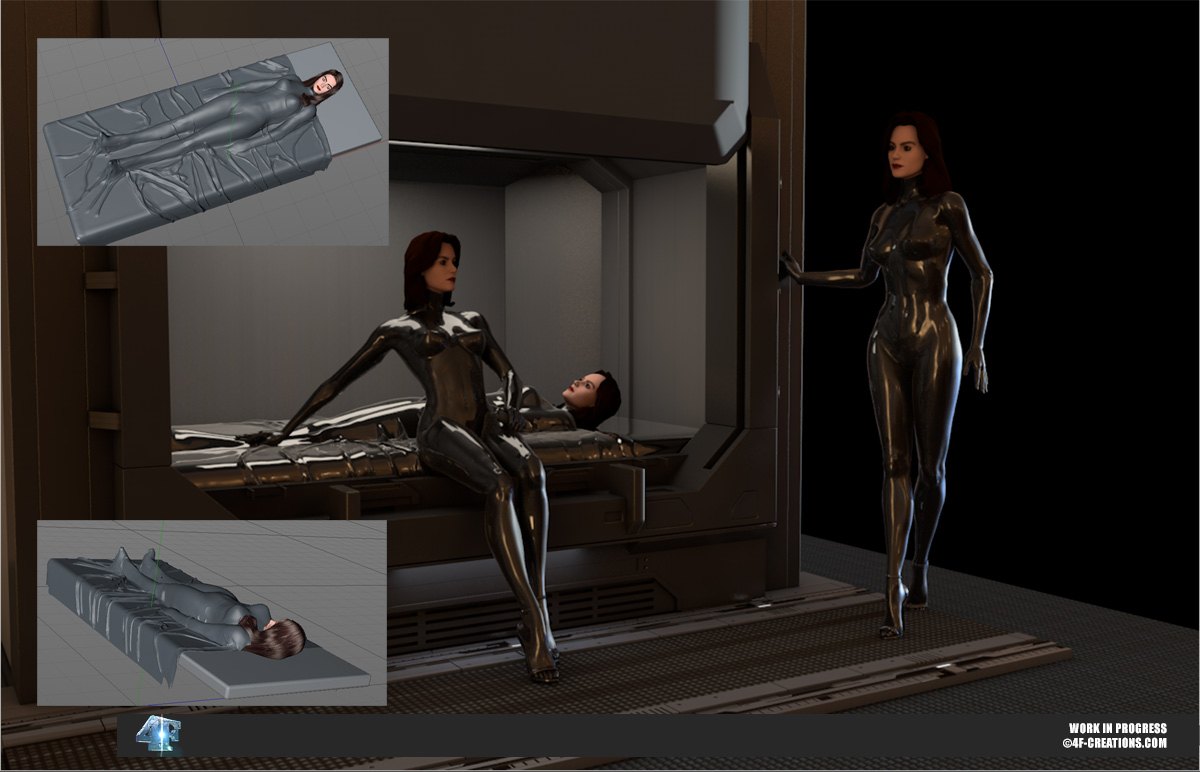
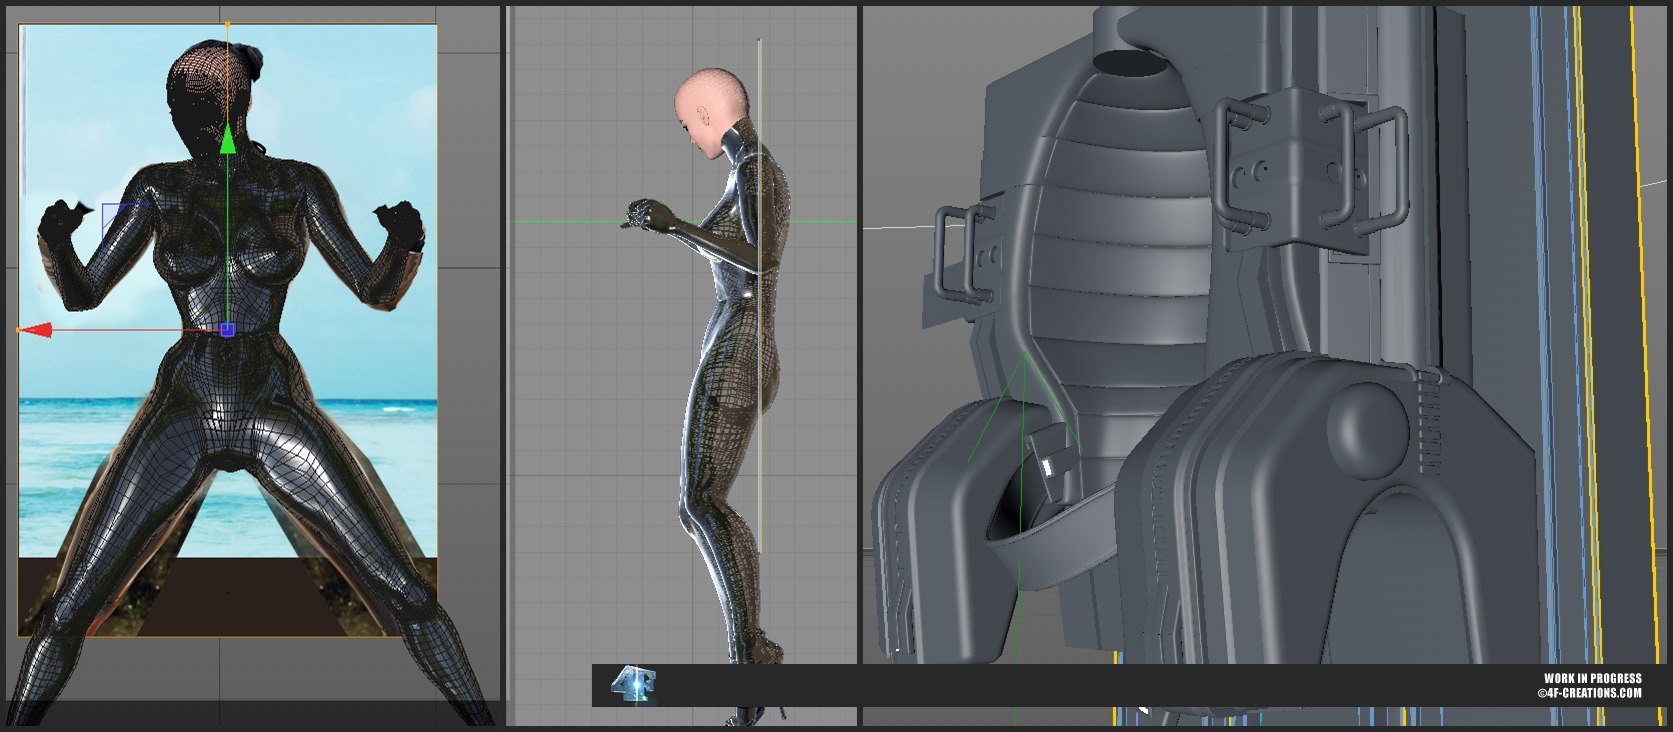
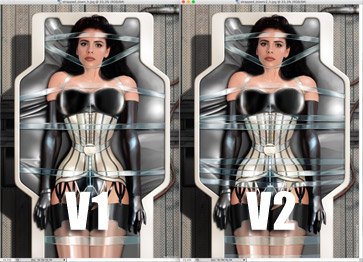
I had given myself 1 more week of "vacation". Then again, vacation is overrated. I haven't had a proper one in over 3 decades , so bleh. I found myself after 1 week already back in the chair plunking down some idea's I had. I tried going deeper into Zbrush but watching the instructorial video's, I ehh, uhh, found myself with my eyes closed after a while. Not that they are boring or badly made but just watching and not doing a thing myself just made me doze off. So learning Zbrush is going to take a lot longer then I imagined. Anywho, you may remember this one, Rebbecca strapped down on a bench. (Larger versions you can get by just signing up for free, saying 'hi' in the introduction forum and you can grab it unedited just like that). I made a second version of this after 4Eyes was so kind to point out she would escape with not much effort in my first version. Still, I never liked the way it turned out. The biggest problem I had was with the top down view. It's just boring to look at. And the way she's strapped down, well that's not really all too restrictive. You can see her wiggle out of it. If she wiggles a lot. I started another CEI image a few month's ago from a 2D image where the girl was standing but could be seen too in a way as if she was laying down on her back. But the device/table she was laying in/on didn't properly get 'out of the paint' so to speak when I tried to build it in 3D, so I dropped it and moved on. Until I last month when I was watching one of the Zbrush video's that was less about Zbrush and more about concept artwork and I got this 'just-do-it-stop-thinking-just-do-it' vibe from that video (if you do any sketching your self I highly recommend it. It might give you some idea's or inspiration) and I picked it back up to give it another go. Previously I tried to build around and on top of the imported 2D image. That failed as it's really hard to figure out where what goes if you have an camera angle other then top view. So this time with my "new" posable figurine 'Latexina' I started to pose her as close as possible to the 2D image. Having something in 3D that resembled closely the 2D image I finally could properly position items around and on her. Sunken head cushion, neck strap, restrictive shoulder movement locks with more to come, there's not going to be any wiggling out this time.

-
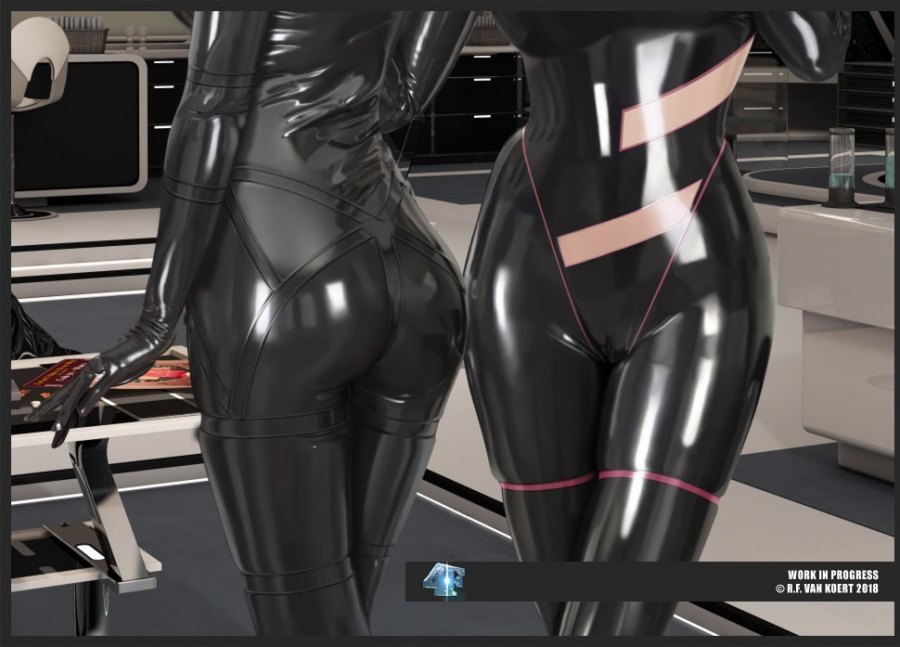
All that^ goes behind some of this (I'm still working on it but it's getting close), If I would had incorporated 1 girl it would be finished by now. Two latex clad babes just takes a bit longer.
-
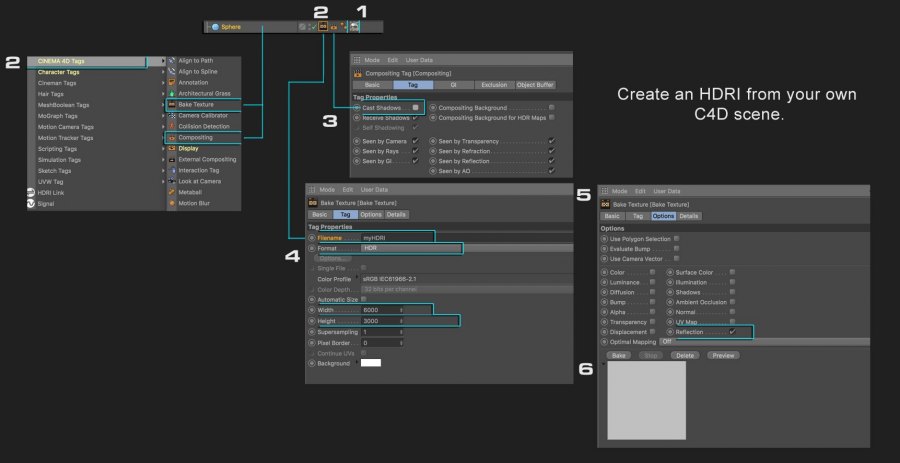
And after a bit and a re-render because instead of clicking the screenshot away I clicked (Ignoring the warning) the 3d scene that was rendering away... ? something like this (this is sized down but you get the picture). For those who want to know how to set this up I made the following chart with explanation; So how do you create an HDRI from your own Cinema 4D scene file? Well easy, once you have your scene file ready and properly lit and texturized you add a small 50-100 CM sphere at the center of it then you: 1 - Give that sphere a 100% reflective texture, and nothing else! 2 - Add 2 C4D tags to your sphere. A 'Bake Texture' tag and a 'Compositing' tag. 3 - In the Compositing tag you turn off 'Cast Shadows'. 4 - In the Bake tag under the 'Tag' settings you give your file a name (and location where its saved to). 4b - You set the Bake tag format to 'HDR'. 4c - You set a width and height for your HDRI 4d - Supersampeling can be turned off or on (Be warned it will significantly increase the Bake render time). Read the help files if you're unsure. 5 - In the Bake tag under the 'Options' settings you only switch on 'Reflection'. 6 - Hit the 'Bake' button and sit back and enjoy a cup of coffee or tea.

-
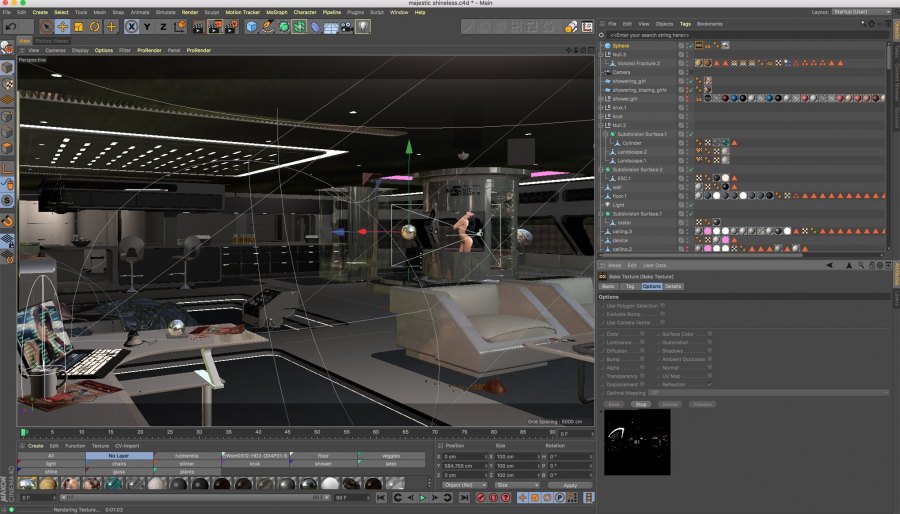
Screenshot where I'm currently creating a HDRI (bottom right tiny square) of this Cinema 4D scene to complete some additional items I need to finish of next image. Because those items (chains and maybe a few cables) have reflection I need to render them inside the scene to have them properly 'melt' into the environment. Now the big problem is that environment (the scene) is rather large and takes "ages" to preview in the view window. Then I remembered I could create an HDR image based off this scene, put that HDRI into a new empty scene on a sky object and have all the light information present without all the things that slow the original scene down. Ces très simple.
-
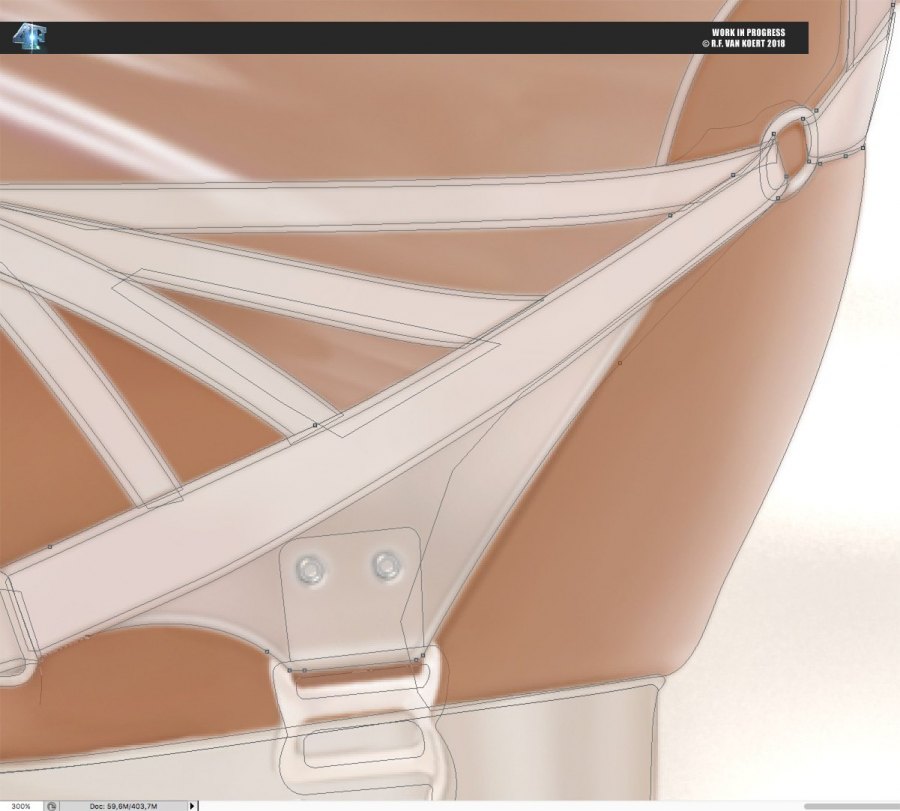
Shiny lingerie in progress, a screenshot at 300%. Not sure if I'm going to meet my own set deadline for the end of this month, to have 2 new images ready, of which this is one, plus another chapter added to the MNW story line, of which the 2 images are part of. It may take a few days longer but so you know, they are on your way. The image with the earlier posted "medical equipment" might see the light of day next month. I'm not sure as it's challenging to merge the 3D tubes, sensors, wires, collectors and stimulators with the 2D uhh... "patient" and make it look convincing enough. I'll do my best tough.
-
I already kicked any and all links to and from that awful farcebuwk from the 4F site into the dustbin. Decided today to remove a mayor tracker, google's analytics as well. I just asked myself do I really need it? As the answer was no it was removed.
-
Ive added a few more images to the 'Shiny Women' club today after upgrading the software here. Grab those files and enjoy them while you can I'd say as in 2 month's IF the EU gets its way, no more uploads by me or anyone else (at least EU based I guess) will be possible (including meme images), unless author rights are paid. Mandatory filters placed on servers will then even prevent images without that from being uploaded. Somewhere it makes sense then again stuff like reposting Twitter images will e a no-go too. Going to be interesting IF the EU gets its way...
-
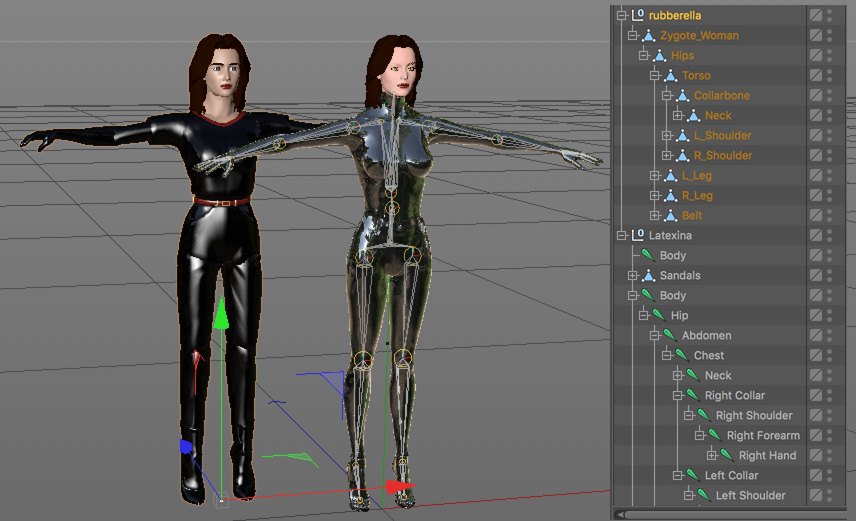
It's clear I'm not able to do "daily" updates here. Sometimes there is nothing to post, sometimes like last Monday I was writing something up, looked at the clock and noticed I was more then one hour further with not much to show for and I just moved back to doing 2/3D things. Typing stuff with 1 finger doesn't speed things up of course. Still my apologies, the intention is there it just doesn't work out, I'll just keep trying to update when I have something and am able to, ok? This is something I worked on last year but had to drop because the amount of polygons (it's part of a large cell block I'll show you a bit later), went somewhat out of the roof (it came close to 9 million polygons) and then I only had 1 wall and nothing else. I picked it up a few days ago and found some ways to be able to add more then just one wall while still being able to move around the scene with more then 1 FPS... That figure in her shiny catsuit is something new I'm currently trying out. I always use human (female) puppets/figures when I build my 3D scenes to (somewhat) get the proportions right of objects, heights of doors etc. You can always measure things to get things absolutely right, but I really suk at math and this is also a bit more appealing to my eye and as you can see, creates instant mini-stories while I build up the 3D environment. My old pal 'Rubberella' is an old Zygote figure with some go-go boots slapped on for proper high-heel heights and usually did her job well but when I tried to get her in a sitting position for example her torso detached from her hips and then I had to put her back together and well, she is a bit 'blocky' which when used for generating shadows is not optimal. An other option is to pose a figure in poser or Daz 3D then export it from there, then import it in Cinema 4D. That was all a bit to cumbersome to work with until I noticed I could export a puppet FBX with a rig. Enter 'Rubberella's' replacement 'Latexina'. There is some trouble tough like if after posing I forget to lock that pose and at some point do an 'undo' on something else in the scene her whole rig resets to the default pose and her shoes fall off. It's a bit weird behavior but not that a big deal.
-
Wanted to post last Friday but I first had to upgrade this 4Forum. All seemed well at first then not so much. I got weird -200 errors (Failed to load resource: The operation couldn’t be completed. Protocol error) <- stuff like that when trying to post images, asked for help because that's all way over my head and before I knew it, it was Monday and things seem to have fixed themselves. The plan for this month is to upload the next part in the MNW story. This part has been online before, when I was still using Flash, so to upgrade its "freshness" I added some new things and one of these things are 2 new images. Both have been in "development hell" for ages but I got renewed confidence I can finally finish them. The first of these 2 images is almost ready, then it's on to the next one, add some text to accompany the first in the next MNW chapter, fix some textual errors and well, hopefully end of the month you can view the results.
-
-
-
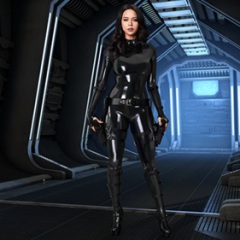
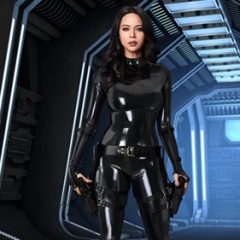
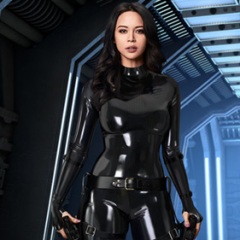
From the album: Two-Avatar
-
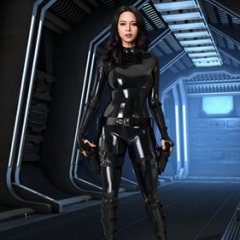
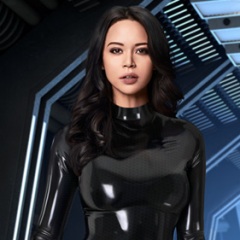
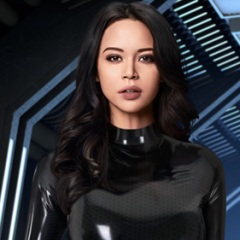
From the album: Two-Avatar